How to Set Up Oh My Zsh and Powerlevel10k on Fedora
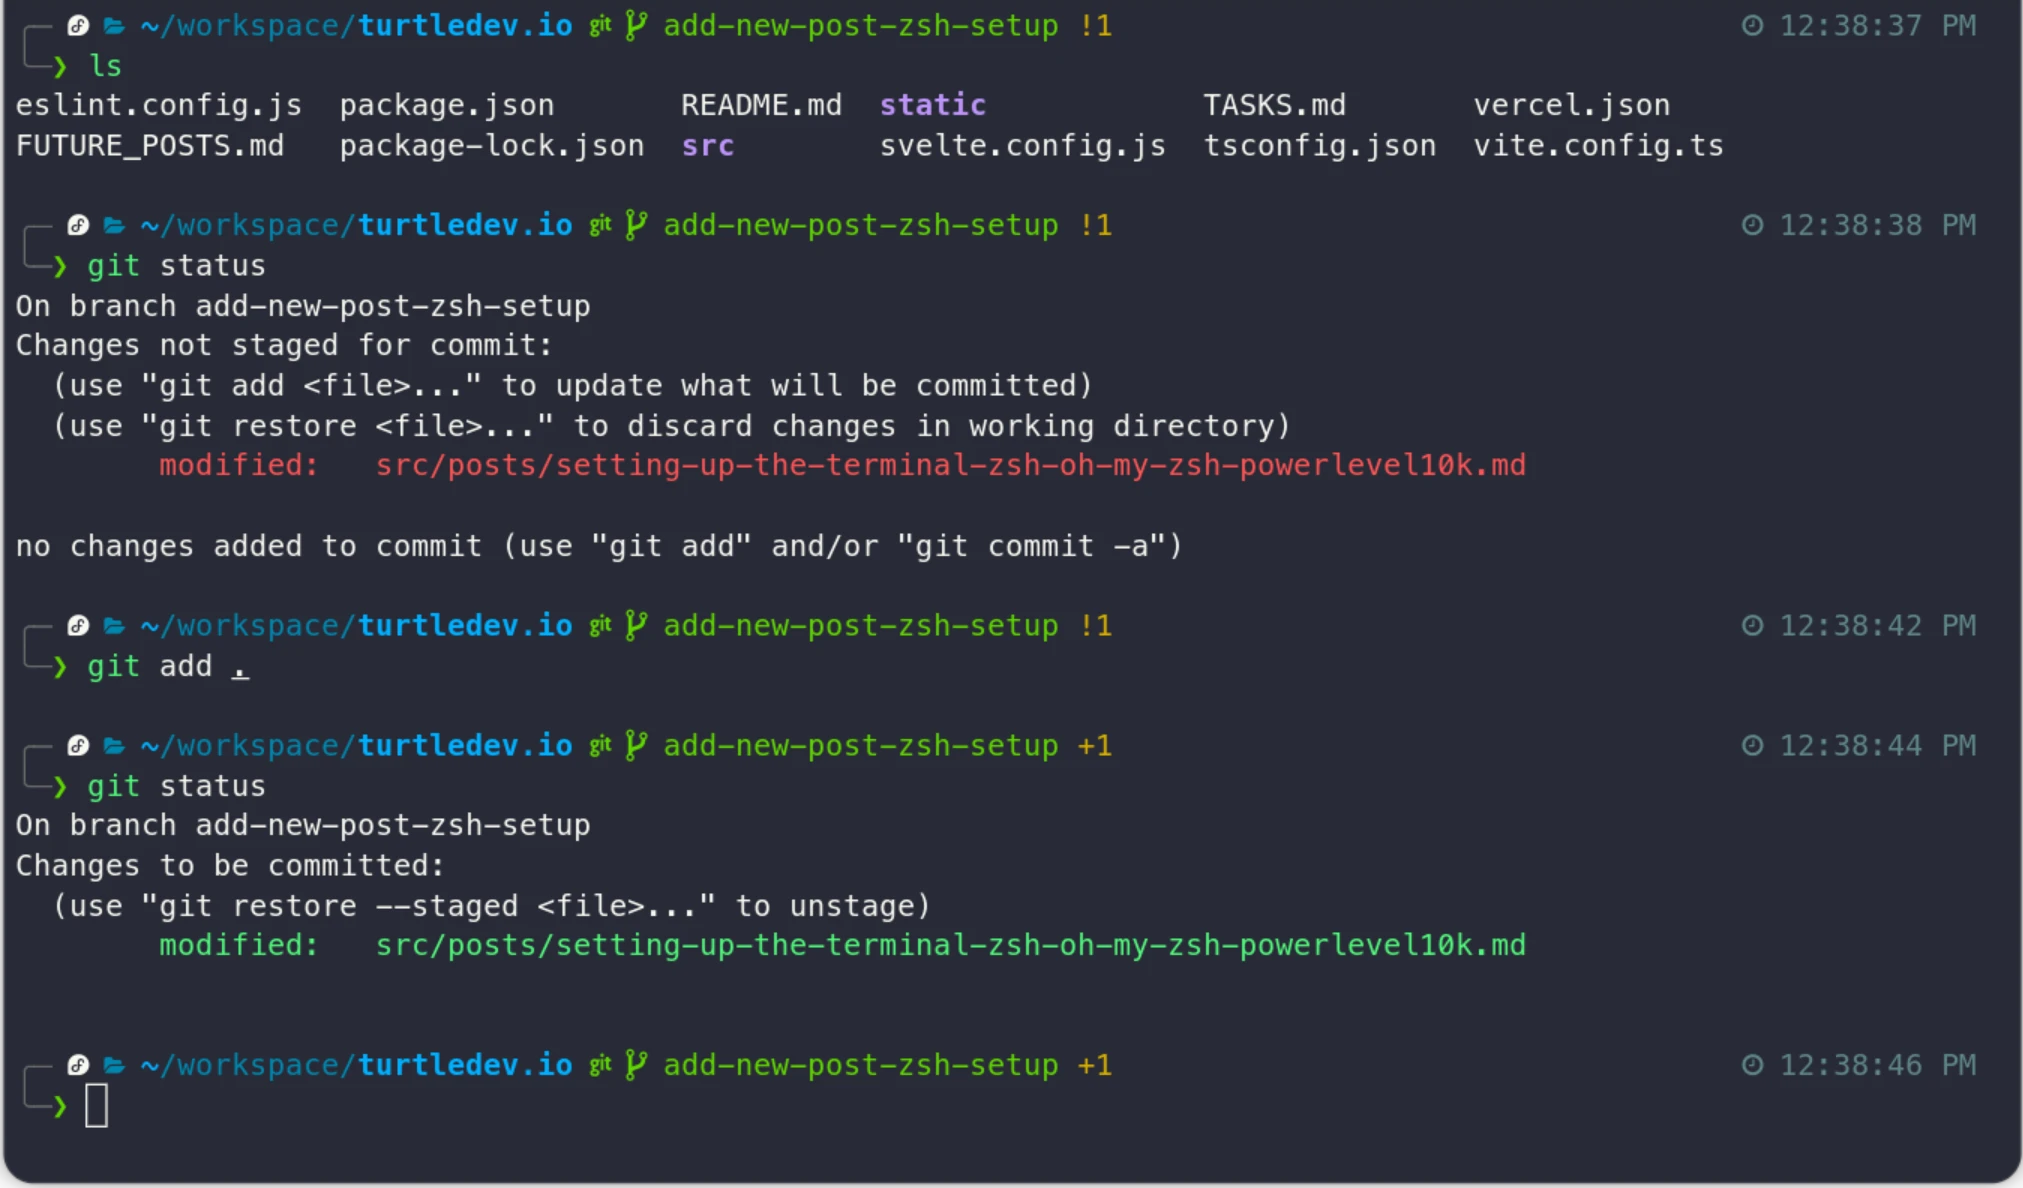 zsh with Powerlevel10k and Oh My Zsh running on Fedora
I had this setup running on WSL for many years and wanted the same on Fedora. Since I’m still using WSL on my other machine, I wanted the exact same setup on both to not confuse my muscle memory 😄. Here are the steps I followed, in order.
Step 1: Install zsh
Fedora ships with bash, so the first step is installing zsh:
sudo dnf install zshVerify it installed correctly:
zsh --version
# zsh 5.9 (x86_64-redhat-linux-gnu)
Step 2: Install Oh My Zsh
Oh My Zsh is the framework that adds useful features. It manages themes and plugins and comes with a huge set of sensible defaults out of the box.
sh -c "$(curl -fsSL https://raw.githubusercontent.com/ohmyzsh/ohmyzsh/master/tools/install.sh)"A few things happen automatically when this runs:
- Oh My Zsh is cloned into
~/.oh-my-zsh(about 3.3 MB) - A new
~/.zshrcis created from the Oh My Zsh template — this is where your themes, plugins, and aliases live - Your default shell is changed to zsh by running
chshunder the hood, which updates/etc/passwdto point your user to/usr/bin/zsh— it’ll ask for your password for this step
After the install finishes, close and reopen your terminal and you’ll already be in zsh.
Step 3: Add the Essential Plugins
There are two plugins that I consider non-negotiable. Once you try them, you’ll wonder how you managed without them.
zsh-autosuggestions — as you type, it shows a greyed-out ghost suggestion based on your command history. Hit the right arrow key to accept it. It’s subtle but it cuts down repetitive typing significantly.
git clone https://github.com/zsh-users/zsh-autosuggestions
  ${ZSH_CUSTOM:-~/.oh-my-zsh/custom}/plugins/zsh-autosuggestions
zsh-syntax-highlighting — colors your command as you type it. Valid commands turn green, unrecognized commands turn red. Typos become immediately visible before you even hit enter.
git clone https://github.com/zsh-users/zsh-syntax-highlighting
  ${ZSH_CUSTOM:-~/.oh-my-zsh/custom}/plugins/zsh-syntax-highlighting
After cloning both, open ~/.zshrc and find the plugins=(...) line. Add both to the list:
plugins=(git zsh-autosuggestions zsh-syntax-highlighting)Then reload your config:
source ~/.zshrcStep 4: Powerlevel10k
The default Oh My Zsh themes are fine, but Powerlevel10k is in a different league. It’s fast, highly configurable, and shows useful context right in your prompt — current directory, git branch and status, error codes, and more. It has a built-in configuration wizard that walks you through everything interactively.
The GitHub repo now shows a warning that the project has very limited support and no new features are in the works. That sounds alarming, but the maintainer explained on Reddit that since no new features are being added, no new bugs will be introduced either — the plugin does what it does and does it well. There are also still occasional commits coming in. Good enough for me.
Install the Font First
Powerlevel10k uses special glyphs that require a patched font. Download these four files from the Powerlevel10k fonts page:
MesloLGS NF Regular.ttfMesloLGS NF Bold.ttfMesloLGS NF Italic.ttfMesloLGS NF Bold Italic.ttf
Install them by double-clicking each file, or by copying them into ~/.local/share/fonts/ and running fc-cache -f -v.
Then set the font in your terminal. In GNOME Terminal: Preferences → select your profile → Text → enable Custom font → select MesloLGS NF Regular.
If you use the VS Code integrated terminal, you’ll need to do two things. First, set it to use zsh — by default it opens bash. Open VS Code settings, search for terminal.integrated.defaultProfile.linux, and set it to zsh. Second, set the font so the Powerlevel10k glyphs render correctly — search for terminal.integrated.fontFamily and set it to MesloLGS NF. Then Restart VS Code. Without this, you’ll see broken squares instead of icons.
Install the Theme
git clone --depth=1 https://github.com/romkatv/powerlevel10k.git
  "${ZSH_CUSTOM:-$HOME/.oh-my-zsh/custom}/themes/powerlevel10k"
Open ~/.zshrc, find the line that sets ZSH_THEME, and change it:
ZSH_THEME="powerlevel10k/powerlevel10k"Then reload:
source ~/.zshrcThe Powerlevel10k configuration wizard will launch automatically. It asks a series of visual questions — does this icon look right, do you prefer this style or that one — and builds your prompt config based on your answers. The whole thing takes about two minutes and the result is a prompt that actually shows you useful information at a glance.
After all of this, the terminal is in a good shape. One more thing I’d recommend — try the Darcula theme on GNOME Terminal. It pairs really well with Powerlevel10k and is easy on the eyes for long sessions. And if the font feels too small after setting MesloLGS NF, just bump it up a couple of sizes in Preferences → Text → Custom font. Don’t suffer through a small font.
If you’re on Fedora (or any Linux distro) and haven’t done this yet, it’s worth the half hour.
For more on the Fedora setup, see how I chose Fedora over Ubuntu and why I’m switching to Linux again.
Smooth typing!